Blog

  • How to implement Fonts in Next.js?

    How to implement Fonts in Next.js?

    Typography plays a vital role in web design, making it crucial to use fonts effectively in your web application. In Next.js, implementing fonts is straightforward, thanks to features like the next/font module, which simplifies font optimization and improves performance.

    This guide will walk you through all the ways to implement fonts into a Next.js application, covering Google Fonts, custom fonts, and local fonts. We’ll include practical examples, step-by-step instructions, and best practices.

    Why Fonts Matter in Web Development

    Fonts impact readability, branding, and overall user experience. Proper font implementation in Next.js ensures:

    • Enhanced Performance: Optimized fonts improve load times.
    • Privacy: Self-hosting fonts reduce third-party dependencies.
    • Accessibility: Proper typography makes content easier to read for all users.

    Next.js offers multiple ways to integrate fonts while prioritizing performance and user experience.

    1. Using Google Fonts in Next.js

    Using next/font/google

    Font names in next/font/google use PascalCase with underscores replacing spaces (e.g., ‘Open Sans’ becomes ‘Open_Sans’). This naming convention ensures consistency when importing fonts. The next/font/google module is the most optimized way to include Google Fonts in a Next.js application. It automatically self-hosts fonts, eliminates layout shifts, and improves privacy.

    Step-by-Step Implementation

    Font names in next/font/google follow PascalCase, where spaces are replaced with underscores. For example, ‘Open Sans’ becomes ‘Open_Sans’. This naming convention ensures consistency and compatibility.

    1. Import the Font: Import the desired font from next/font/google.
    import { Open_Sans } from 'next/font/google';
    
    const openSans = Open_Sans({
      subsets: ['latin'], // Specify subsets for optimization
      weights: ['400', '700'], // Optional: Define weights
      styles: ['normal', 'italic'], // Optional: Define styles
    });

    Apply the Font Globally: In your app/layout.js or app/layout.tsx, apply the font to the <html> or <body> tag.

    export default function RootLayout({ children }) {
      return (
        <html lang="en" className={openSans.className}>
          <body>{children}</body>
        </html>
      );
    }

    Optional: Use CSS Variables: For selective font usage, define a CSS variable.

    const openSans = Open_Sans({
      subsets: ['latin'],
      variable: '--font-open-sans',
    });

    Then, apply the font in your CSS:

    body {
      font-family: var(--font-open-sans), sans-serif;
    }

    Using Traditional <link> Tag

    Alternatively, you can include Google Fonts via a <link> tag in _document.js.

    Step-by-Step Implementation

    1. Edit _document.js: Add the Google Fonts link inside the <Head> tag:
    import { Html, Head, Main, NextScript } from 'next/document';
    
    export default function Document() {
      return (
        <Html lang="en">
          <Head>
            <link
              href="https://fonts.googleapis.com/css2?family=Open+Sans:wght@400;700&display=swap"
              rel="stylesheet"
            />
          </Head>
          <body>
            <Main />
            <NextScript />
          </body>
        </Html>
      );
    }

    Apply the Font in CSS: Use the imported font in your global CSS file:

    body {
      font-family: 'Open Sans', sans-serif;
    }

    Pros and Cons

    MethodProsCons
    next/font/googleSelf-hosted, optimized, reduces FOUTSlightly more setup
    <link> TagSimple to implementExternal requests, possible layout shifts

    2. Adding Custom Fonts

    Using Local Font Files

    To include a custom font not available on Google Fonts, use the next/font/local module.

    Step-by-Step Implementation

    1. Organize Font Files: Place your font files (e.g., .woff2, .woff) in the public/fonts directory.
    2. Import the Font: Use next/font/local to define the font.
    import localFont from 'next/font/local';
    
    const customFont = localFont({
      src: [
        { path: '/fonts/MyCustomFont-Regular.woff2', weight: '400', style: 'normal' },
        { path: '/fonts/MyCustomFont-Bold.woff2', weight: '700', style: 'normal' },
      ],
      variable: '--font-custom',
    });

    3. Apply the Font: Set the font globally in layout.js or via CSS variables.

    export default function RootLayout({ children }) {
      return (
        <html lang="en" className={customFont.variable}>
          <body>{children}</body>
        </html>
      );
    }
    body {
      font-family: var(--font-custom), sans-serif;
    }

    3. Best Practices for Font Implementation

    1. Choose the Right Fonts:
      • Use fonts that align with your brand and improve readability.
      • Limit the number of font families to optimize performance.
    2. Optimize for Performance:
      • Use next/font for self-hosting and reduced network requests.
      • Subset fonts to include only the characters you need.
    3. Ensure Accessibility:
      • Use readable font sizes and contrast ratios.
      • Test your typography across devices and browsers.

    4. Common Pitfalls and How to Avoid Them

    1. Flash of Unstyled Text (FOUT):
      • Use next/font to preload fonts and prevent layout shifts.
    2. Large Font Files:
      • Subset fonts and compress font files for faster load times.
    3. Incorrect Font Paths:
      • Ensure font files are placed correctly in the public directory.
    4. Overusing Fonts:
      • Stick to a limited number of weights and styles to reduce load times.

    Conclusion

    Implementing fonts in Next.js is both flexible and efficient. Whether you’re using Google Fonts or custom fonts, Next.js provides tools to optimize performance and improve user experience. By following this guide, you can ensure your typography is both beautiful and functional.

    Start enhancing your Next.js project with well-implemented fonts today!

  • A Complete Guide to Using Supabase with Next.js

    A Complete Guide to Using Supabase with Next.js

    Supabase has quickly become one of the most talked-about backend solutions, often referred to as the “open-source Firebase alternative.” Its powerful PostgreSQL-based database and robust features make it an excellent choice for building modern applications, especially with frameworks like Next.js.

    In this guide, we’ll cover everything you need to know about integrating Supabase with Next.js and answer some common questions about its capabilities.

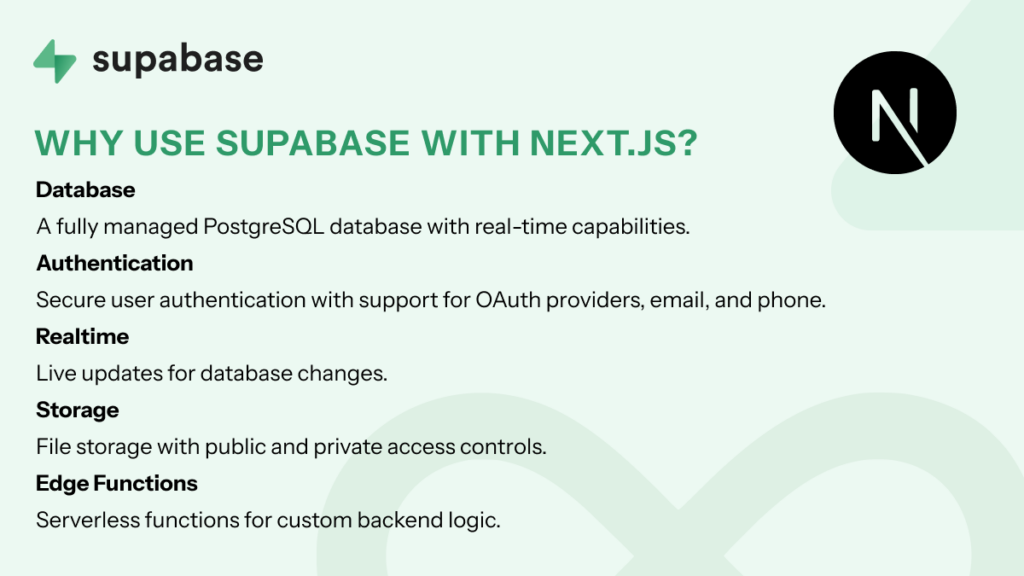
    Why Use Supabase with Next.js?

    supabase with nextjs

    Supabase provides:

    • Database: A fully managed PostgreSQL database with real-time capabilities.
    • Authentication: Secure user authentication with support for OAuth providers, email, and phone.
    • Realtime: Live updates for database changes.
    • Storage: File storage with public and private access controls.
    • Edge Functions: Serverless functions for custom backend logic.

    Combining these features with Next.js gives you a powerful full-stack development experience, enabling you to create highly interactive applications quickly.

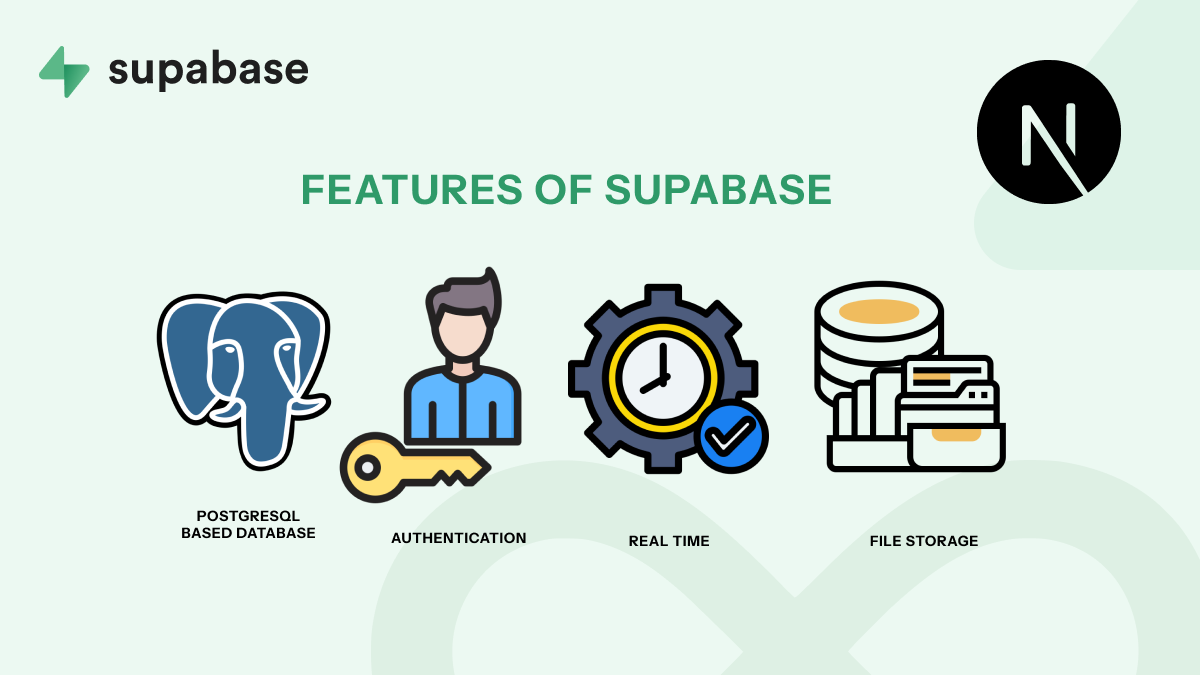
    Features of Supabase for Next.js Applications

    supabase features

    1. PostgreSQL-Based Database

    • Advanced relational capabilities with support for JSON and full-text search.
    • Real-time updates, perfect for dashboards or collaborative tools.

    2. Authentication

    • Easy integration with OAuth providers like Google, GitHub, and Twitter.
    • Secure user authentication with email and phone-based login options.

    3. Realtime

    • Built-in WebSocket support to sync data in real-time across clients.
    • Use cases: Chat applications, live dashboards, and collaborative tools.

    4. File Storage

    • Upload, retrieve, and manage files with public or private access controls.
    • Great for user-generated content like profile pictures or documents.

    5. Edge Functions

    • Write serverless functions to handle custom business logic.
    • Ideal for integrating with third-party APIs or running scheduled tasks.

    How to Integrate Supabase with Next.js

    Step 1: Set Up Supabase

    1. Sign Up: Create an account at Supabase.
    2. Create a New Project:
      • In the Supabase dashboard, click “New Project.”
      • Set up your database by choosing a project name, database password, and region.
    3. Get API Keys:
      • Go to “Project Settings” > “API” to find your SUPABASE_URL and SUPABASE_ANON_KEY.

    Step 2: Install Supabase Client in Your Next.js Project

    npm install @supabase/supabase-js

    Step 3: Initialize Supabase

    Create a supabase.js file in the root of your project to initialize the Supabase client:

    import { createClient } from '@supabase/supabase-js';
    
    const SUPABASE_URL = process.env.NEXT_PUBLIC_SUPABASE_URL;
    const SUPABASE_ANON_KEY = process.env.NEXT_PUBLIC_SUPABASE_ANON_KEY;
    
    export const supabase = createClient(SUPABASE_URL, SUPABASE_ANON_KEY);

    Step 4: Fetch Data from Supabase

    Example of fetching data in a Next.js page:

    import { supabase } from '../supabase';
    
    export async function getServerSideProps() {
      const { data, error } = await supabase.from('your_table_name').select('*');
    
      if (error) {
        console.error(error);
        return { props: { data: [] } };
      }
    
      return { props: { data } };
    }
    
    export default function Home({ data }) {
      return (
        <div>
          <h1>Data from Supabase</h1>
          <pre>{JSON.stringify(data, null, 2)}</pre>
        </div>
      );
    }
    

    FAQs About Supabase and Next.js Integration

    1. Does Supabase support databases other than PostgreSQL?

    No, Supabase currently supports only PostgreSQL as its primary database. While this makes it incredibly robust for relational data, developers seeking support for other databases like MySQL or MongoDB might need to look at alternative platforms or tools.

    2. Is Supabase free to use?

    Yes, Supabase offers a free tier with 2GB storage, 500MB database, and 50,000 monthly API requests, which is perfect for personal projects and MVPs. Yes, Supabase offers a free tier with 2GB storage, 500MB database, and 50,000 monthly API requests, which is perfect for personal projects and MVPs.

    3. What types of apps can I build with Supabase and Next.js?

    • Real-time chat applications.
    • User authentication and role-based dashboards.
    • CMS platforms and blogs.
    • E-commerce websites with inventory management.

    4. How secure is Supabase?

    Supabase ensures security through:

    • Database policies for row-level security.
    • Encrypted connections and user authentication mechanisms.

    5. Does Supabase support serverless functions?

    Yes, Supabase provides Edge Functions to write and deploy serverless backend logic.

    6. How does Supabase compare to Firebase?

    • Supabase uses PostgreSQL, while Firebase relies on NoSQL Firestore.
    • Supabase is open-source, offering greater customization.
    • Firebase has built-in offline support, whereas Supabase doesn’t (yet).

    7. Can I self-host Supabase?

    Yes, Supabase is open-source and can be self-hosted for complete control.

    9. Is Supabase scalable?

    Absolutely. Supabase scales automatically based on your application’s needs, with paid plans starting at $25/month.

    9. Can Supabase handle real-time updates?

    Yes, Supabase supports real-time updates out of the box, making it great for collaborative tools.

    10. Does Supabase support file uploads?

    Yes, Supabase includes a file storage solution with public and private access controls.

    11. What kind of support does Supabase offer?

    Supabase provides extensive documentation, a growing community, and support through GitHub and paid plans.

    Conclusion

    Supabase and Next.js make a powerful duo for building modern applications with minimal backend complexity. From real-time capabilities to secure authentication and serverless functions, Supabase offers everything you need for full-stack development. Whether you’re a hobbyist or working on a large-scale production app, Supabase’s features and flexibility can elevate your Next.js projects to the next level.

    So, ready to try it out? Head over to Supabase and start building your dream app today!

  • Sending Emails in Next.js for Free: Tools and Best Practices

    Sending Emails in Next.js for Free: Tools and Best Practices

    When building a web application with Next.js, handling email functionality is a crucial requirement for features like contact forms, notifications, and transactional emails. But what’s the best way to send emails in Next.js, especially when hosted on serverless platforms like Vercel? Here’s a comprehensive guide to tools, third-party services, and best practices for email-sending in Next.js applications.

    Why Emails Matter in Next.js

    Emails are essential for:

    • Contact Forms: Allowing users to reach out.
    • Transactional Emails: Sending confirmations, password resets, and receipts.
    • Notifications: Keeping users and admins informed.

    Next.js, with its serverless architecture, makes it easy to implement email functionality via API routes. Here’s how.

    Native Solution: Using Nodemailer

    Nodemailer is a popular Node.js library for sending emails via SMTP. It integrates well with Next.js API routes, offering a flexible, self-hosted solution.

    Setting Up Nodemailer in Next.js

    1. Install Nodemailer:
      npm install nodemailer
    2. Create an API Route: Create a file like /app/api/contact/route.ts to handle the email logic using Next.js 15 and TypeScript.
    3. Configure SMTP:
    import nodemailer from 'nodemailer';
    import { NextResponse } from 'next/server';
    
    export async function POST(request: Request) {
      const body = await request.json();
      const { email, message } = body;
    
      const transporter = nodemailer.createTransport({
        service: 'Gmail', // Or use another SMTP provider
        auth: {
          user: process.env.SMTP_USER,
          pass: process.env.SMTP_PASS,
        },
      });
    
      try {
        await transporter.sendMail({
          from: process.env.SMTP_USER,
          to: 'admin@example.com',
          subject: 'New Contact Form Submission',
          text: `Message from ${email}: ${message}`,
        });
        return NextResponse.json({ success: true });
      } catch (error) {
        console.error(error);
        return NextResponse.json({ success: false });
      }
    }

    Pros:

    • Complete control over the email process.
    • Works with any SMTP server (Gmail, Outlook, etc.).

    Cons:

    • Requires managing SMTP credentials securely.
    • Deliverability depends on your SMTP provider.

    Third-Party Email Services

    Third-party services make email handling easier, especially in serverless environments. Here are the most popular options:

    1. SendGrid

    sendgrid

    SendGrid is a cloud-based email service known for its reliability and scalability.

    • Free Tier: 100 emails/day.
    • Features: Transactional emails, email tracking, templates.
    • Why Use It: Integration-friendly, ideal for serverless platforms like Vercel.
    • Fit For: Hobbyists and professionals.
    • Stat: SendGrid powers over 58,000 businesses globally.

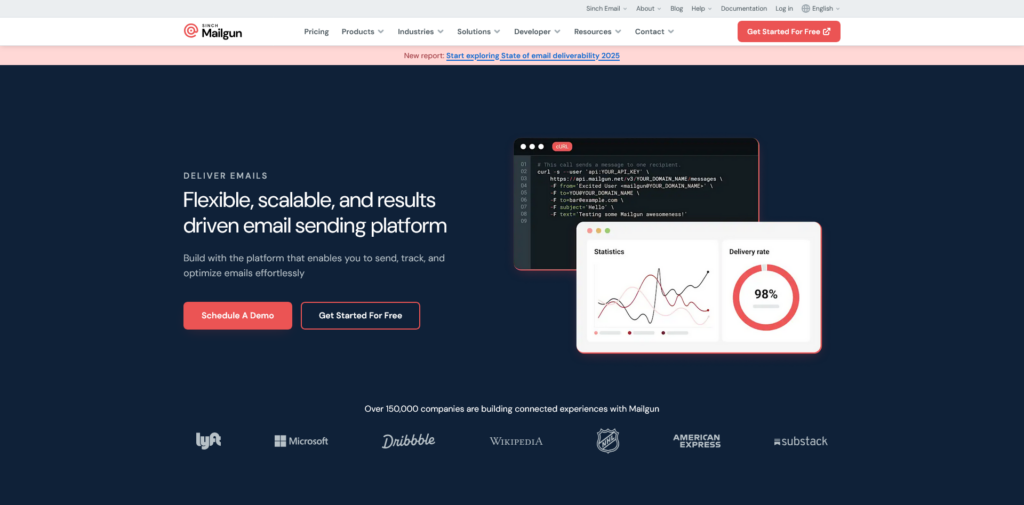
    2. Mailgun

    mailgun

    Mailgun specializes in transactional emails and analytics.

    • Free Tier: 5,000 emails/month (first month only).
    • Features: Advanced analytics, deliverability monitoring.
    • Why Use It: High deliverability rates, RESTful API.
    • Fit For: Professionals.
    • Stat: Used by 150,000 businesses worldwide.

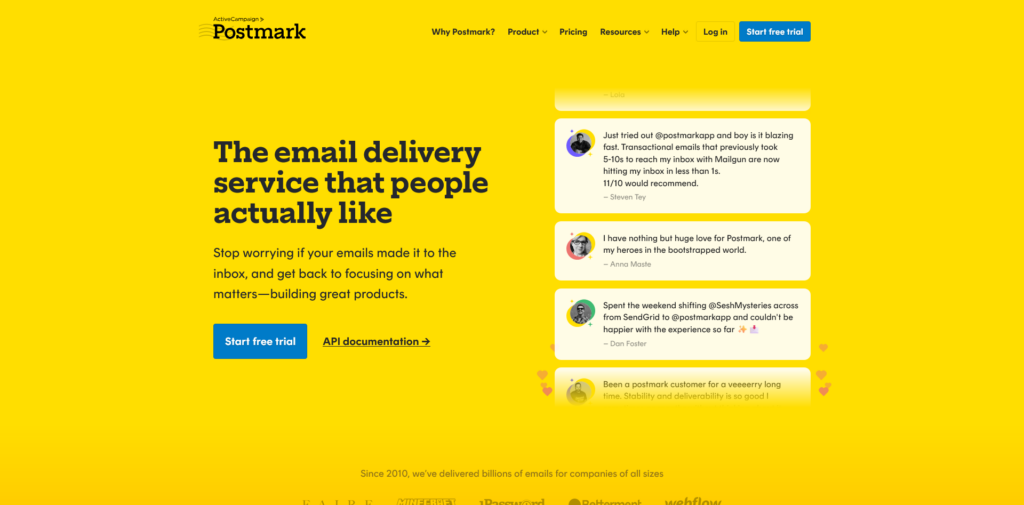
    3. Postmark

    postmarkapp

    Postmark is designed specifically for transactional emails.

    • Free Tier: 100 emails/month.
    • Features: Fast delivery, email tracking.
    • Why Use It: Focuses solely on transactional emails.
    • Fit For: Hobbyists and professionals.
    • Stat: 97% of emails are delivered in under 1 second.

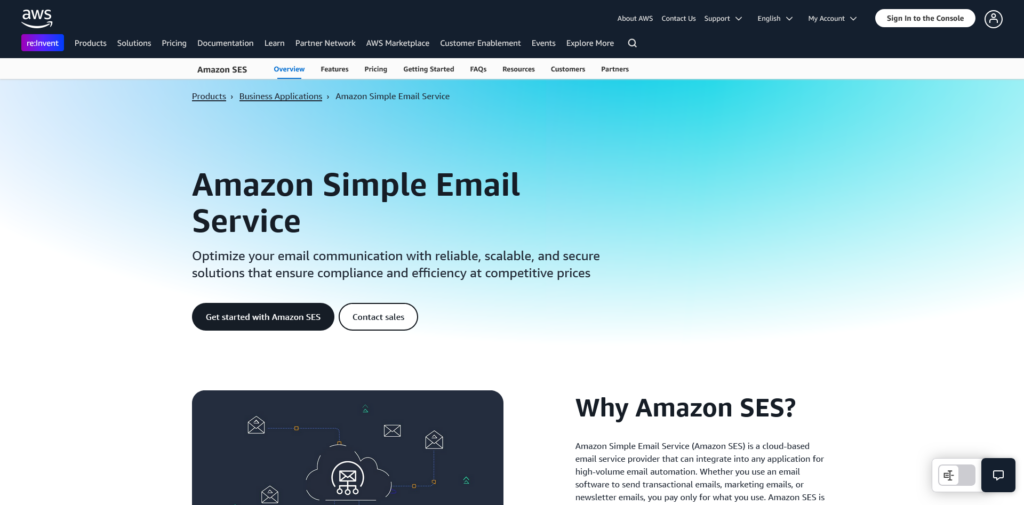
    4. Amazon SES

    aws ses

    Amazon Simple Email Service (SES) is a cost-effective solution for high-volume email needs.

    • Pricing: $0.10 per 1,000 emails.
    • Features: Scalable, integrates with other AWS services.
    • Why Use It: Perfect for high-volume email systems.
    • Fit For: Professionals.
    • Stat: AWS dominates 32% of the cloud infrastructure market.

    5. EmailJS

    emailjs

    EmailJS allows you to send emails directly from the client side without a backend.

    • Free Tier: Limited templates.
    • Features: Client-side email sending.
    • Why Use It: Great for simple setups, but security concerns exist.
    • Fit For: Personal use and hobbyists.

    6. Resend

    resend

    Resend is a modern email-sending service designed for developers.

    • Pricing: $0.004 per email.
    • Features: Developer-friendly APIs, focus on transactional emails.
    • Why Use It: Simple, fast integration.
    • Fit For: Hobbyists and professionals.

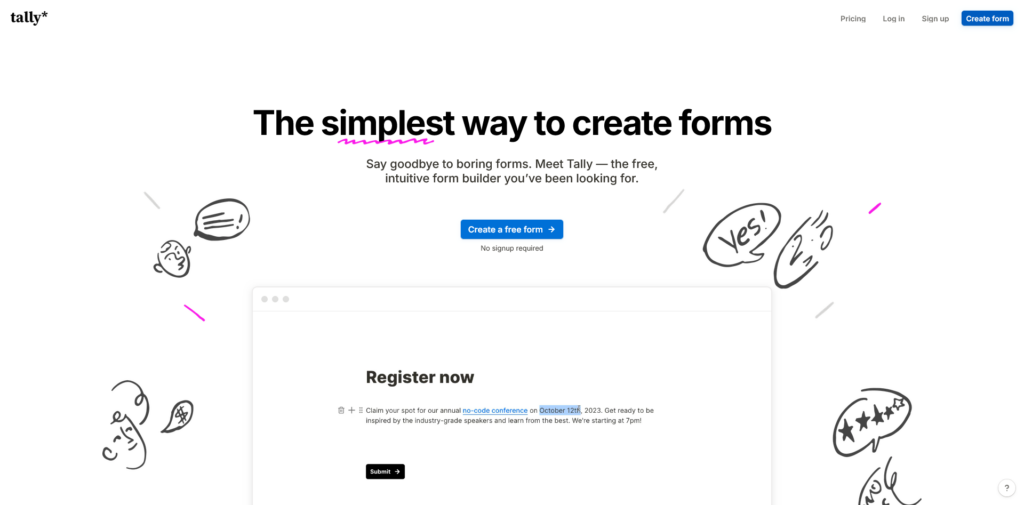
    7. Tally.so (via Integrations)

    tally.so

    Tally.so is primarily a form builder but integrates with email services like Zapier for email workflows.

    • Free Tier: Form building only.
    • Features: Collect form submissions and trigger emails.
    • Why Use It: Combine form-building and email workflows seamlessly.
    • Fit For: Hobbyists.

    Comparison Table

    ServiceFree TierStarting PriceFeaturesFit For
    NodemailerN/ASelf-hostedFull SMTP controlHobbyists and professionals
    SendGrid100 emails/day$15/monthTemplates, trackingHobbyists and professionals
    Mailgun5,000 emails (first month)$35/monthDeliverability monitoringProfessionals
    Postmark100 emails/month$10/monthFast transactional emailsHobbyists and professionals
    Amazon SESPay-as-you-go ($0.10 per 1,000 emails)VariableHigh-volume scalabilityProfessionals
    EmailJSFree for limited useVariableClient-side email sendingPersonal use and hobbyists
    ResendN/A$0.004/emailDeveloper-friendly APIsHobbyists and professionals
    Tally.soFree (form building only)VariableIntegrates with Zapier, othersHobbyists

    Choosing the Right Option

    1. For Full Control: Use Nodemailer if you prefer managing your own SMTP server.
    2. For Serverless Environments: SendGrid, Mailgun, or Postmark offer easy integrations with platforms like Vercel.
    3. For High Volume: Amazon SES is cost-effective for large-scale email needs.
    4. For Simplicity: EmailJS or Resend is ideal for quick setups and lightweight use cases.
    5. For Analytics: SparkPost offers excellent tracking and insights.

    Best Practices for Email Integration in Next.js

    1. Secure Your Credentials: Store API keys and SMTP credentials in environment variables.
    2. Validate User Input: Prevent spam and abuse by validating form submissions.
    3. Monitor Deliverability: Use tools like SendGrid’s dashboard or SparkPost’s analytics to track performance.
    4. Test Before Deploying: Always test your email logic locally and in staging environments.

    Conclusion

    Sending emails in Next.js doesn’t have to be complicated. Whether you choose a self-hosted solution like Nodemailer or a third-party service like SendGrid or Postmark, the right approach depends on your project’s needs. By leveraging these tools and following best practices, you can implement a reliable email system that enhances user experience and keeps your app running smoothly.

    So, what’s your pick? Nodemailer for control, or a service like SendGrid for simplicity? Either way, you’re just a few lines of code away from seamless email integration!

  • Supabase and Its Alternatives: A Deep Dive

    Supabase and Its Alternatives: A Deep Dive

    If you’ve been around the developer block, you’ve probably heard of Supabase—a backend-as-a-service (BaaS) platform that’s giving Firebase a run for its money. But is it the right choice for your project? What are the alternatives if it’s not? Let’s break this down and explore Supabase in detail, followed by its competitors.

    What Is Supabase?

    supabase

    Supabase is often dubbed the “open-source Firebase alternative.” It provides developers with tools to build and scale applications quickly, without managing a backend. It’s built on top of PostgreSQL, which gives it a robust foundation for handling relational data.

    Here’s what you get with Supabase:

    • Database: A fully managed PostgreSQL database.
    • Auth: User authentication and authorization.
    • Storage: File storage with public and private access controls.
    • Realtime: Live updates for database changes.
    • Edge Functions: Serverless functions for custom business logic.

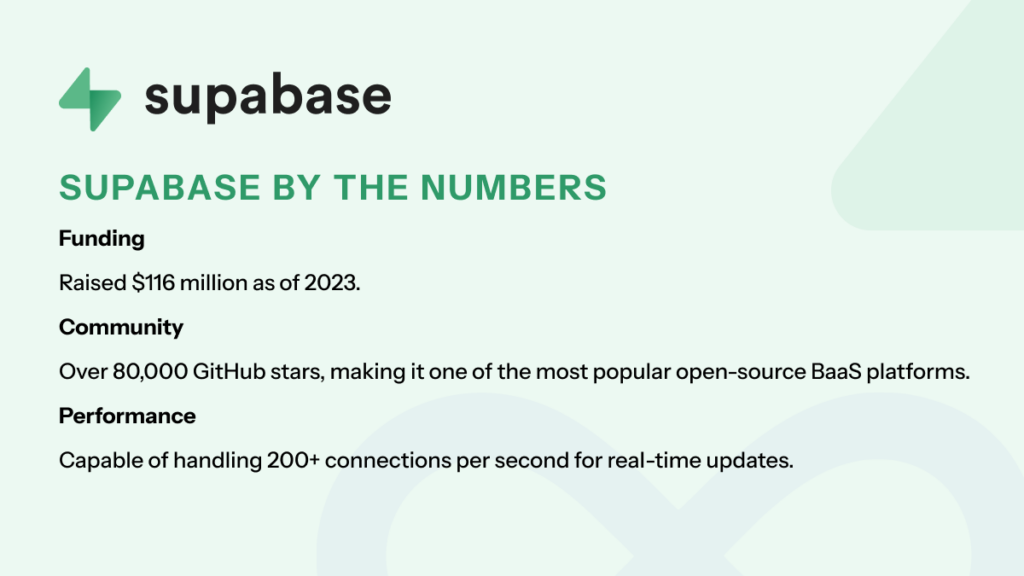
    Supabase by the Numbers

    supabase numbers
    • Funding: Raised $116 million as of 2023. (Crunchbase)
    • Community: Over 80,000 GitHub stars, making it one of the most popular open-source BaaS platforms.
    • Performance: Capable of handling 200+ connections per second for real-time updates. (Supabase Docs)

    Why Developers Love Supabase

    1. Open Source

    Unlike Firebase, Supabase’s codebase is fully open-source. Developers can self-host it or customize it to fit their needs.

    2. SQL-Based

    Supabase uses PostgreSQL, a widely adopted relational database. If you’re comfortable with SQL, you’ll feel right at home.

    • Stat: PostgreSQL is the 4th most-used database globally. (DB-Engines)

    3. Realtime Features

    Supabase’s real-time updates are powered by PostgreSQL’s replication capabilities, making it perfect for chat apps, dashboards, and live feeds.

    4. Scalability

    Whether you’re building a side project or a full-scale app, Supabase scales effortlessly with your needs.

    The Downsides of Supabase

    1. No Native Offline Support

    Supabase currently lacks Firebase’s offline-first capabilities, which can be a dealbreaker for certain applications.

    2. Complex Pricing

    While the free tier is generous, costs can escalate quickly for apps with high usage.

    • Example: High read/write operations and large file storage can significantly increase your monthly bill.

    3. Still Maturing

    Despite its rapid growth, Supabase is relatively new compared to Firebase and lacks some polished features.

    Alternatives to Supabase

    Supabase is great, but it’s not the only player in town. Here are some alternatives you might consider:

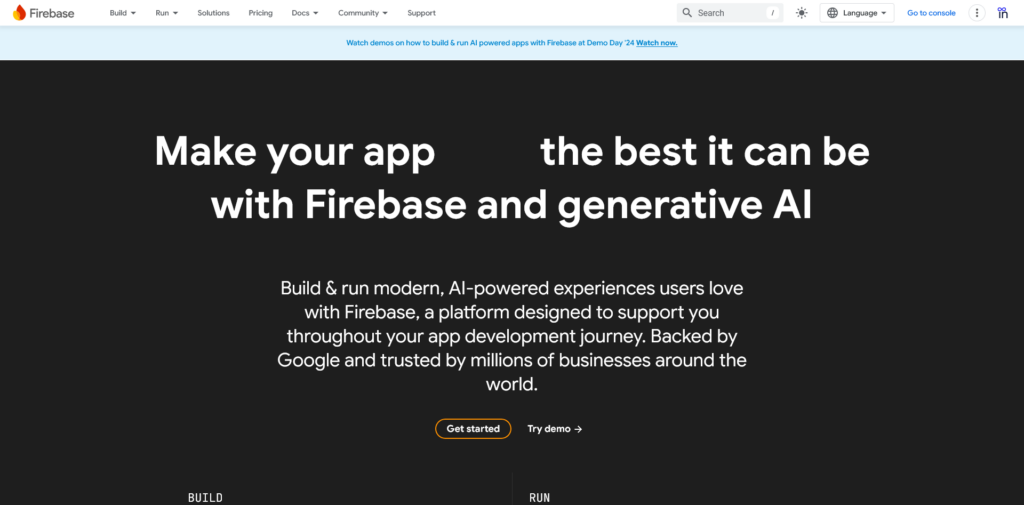
    1. Firebase

    firebase

    The OG BaaS platform, Firebase, is owned by Google and offers a comprehensive suite of tools:

    • Database: Firestore (NoSQL) and Realtime Database.
    • Hosting: Free static web hosting.
    • Analytics: Built-in analytics for user behavior.

    Why Choose Firebase?

    • Native offline support.
    • Strong ecosystem with seamless integration into Google Cloud.
    • Stat: Firebase powers 2.5 million apps worldwide.

    2. Appwrite

    appwrite

    An open-source backend server designed for frontend developers. It provides APIs for user authentication, databases, file storage, and more.

    Why Choose Appwrite?

    • Self-hostable and highly customizable.
    • Community-driven with a focus on developer experience.

    3. Parse

    parse

    Parse was acquired by Facebook and later open-sourced. It’s another self-hosted backend solution that offers:

    • User authentication.
    • Push notifications.
    • Database and file storage.

    Why Choose Parse?

    • Mature community support.
    • Extensible and well-documented.

    4. AWS Amplify

    aws amplify

    AWS’s answer to BaaS, Amplify, integrates with the broader AWS ecosystem to provide:

    • APIs and databases.
    • Authentication.
    • Storage.

    Why Choose AWS Amplify?

    • Tight integration with AWS services.
    • Highly scalable for enterprise-grade applications.
    • Stat: AWS Amplify’s usage grew by 40% in 2023.

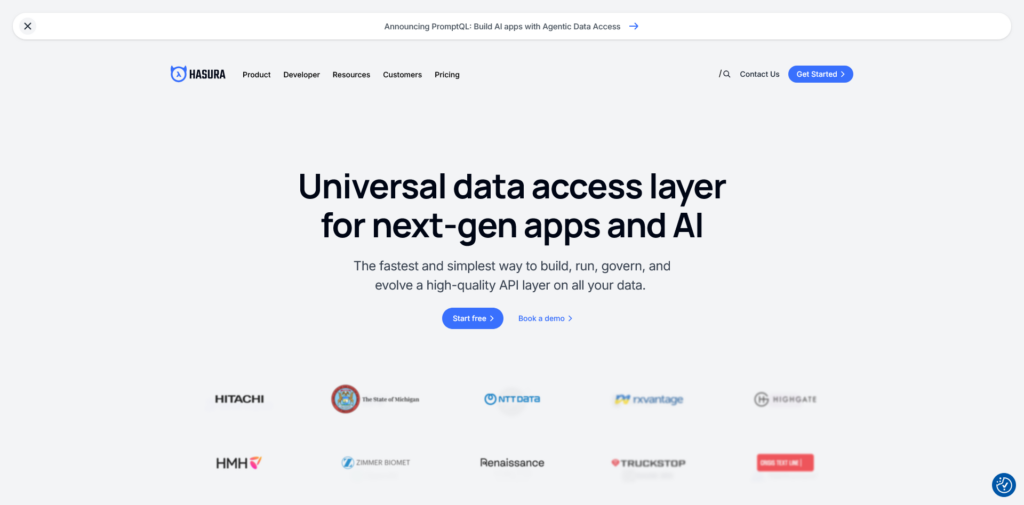
    5. Hasura

    hasura

    Hasura is a GraphQL engine that provides real-time APIs for PostgreSQL databases.

    Why Choose Hasura?

    • Lightning-fast GraphQL APIs.
    • Real-time data updates.
    • Great for GraphQL enthusiasts.

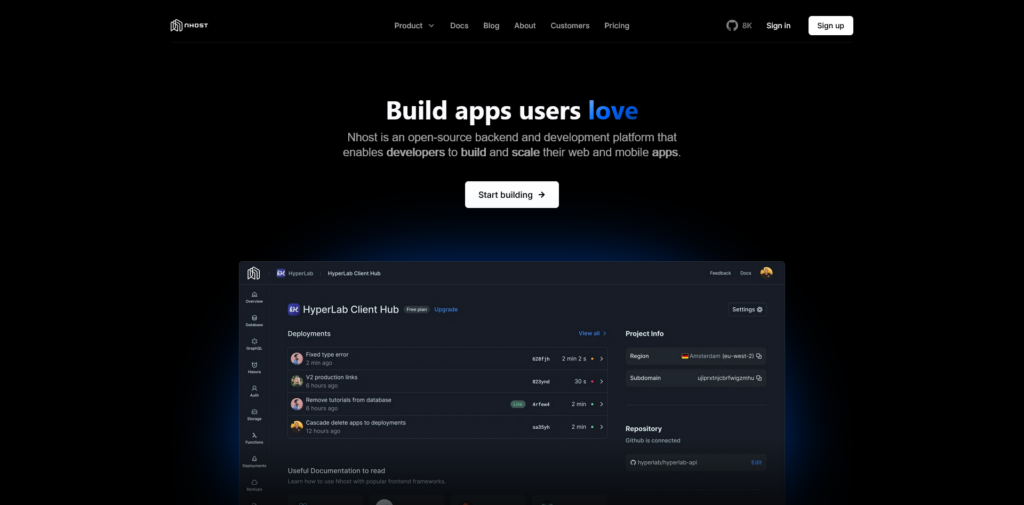
    6. NHost

    nhost

    NHost combines the simplicity of Firebase with the power of PostgreSQL and GraphQL. It’s open-source and designed for modern developers.

    Why Choose NHost?

    • Built-in GraphQL APIs.
    • Simplifies serverless app development.

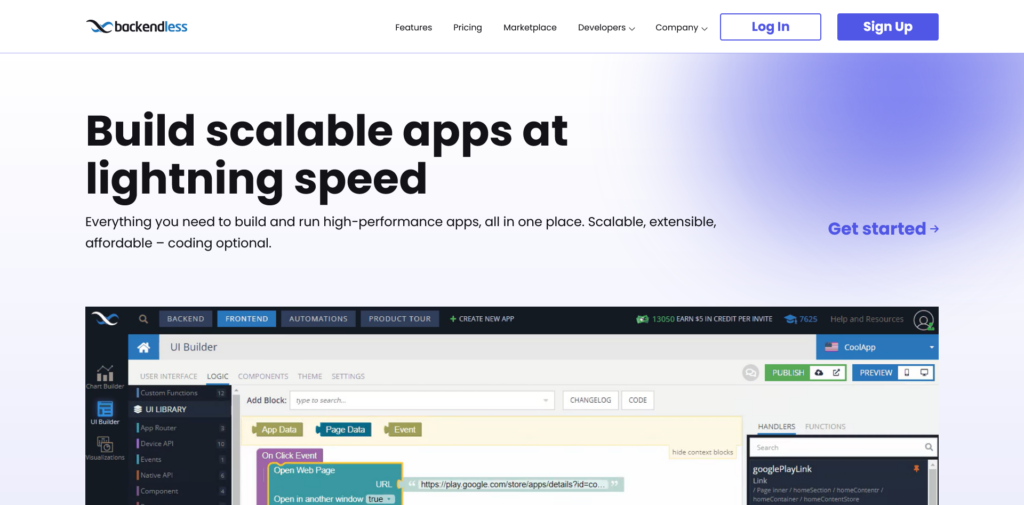
    7. Backendless

    backendless

    Backendless is a visual app development platform offering backend services like:

    • User management.
    • Data storage.
    • Cloud code and APIs.

    Why Choose Backendless?

    • Visual tools for rapid app prototyping.
    • Strong focus on user management and engagement.

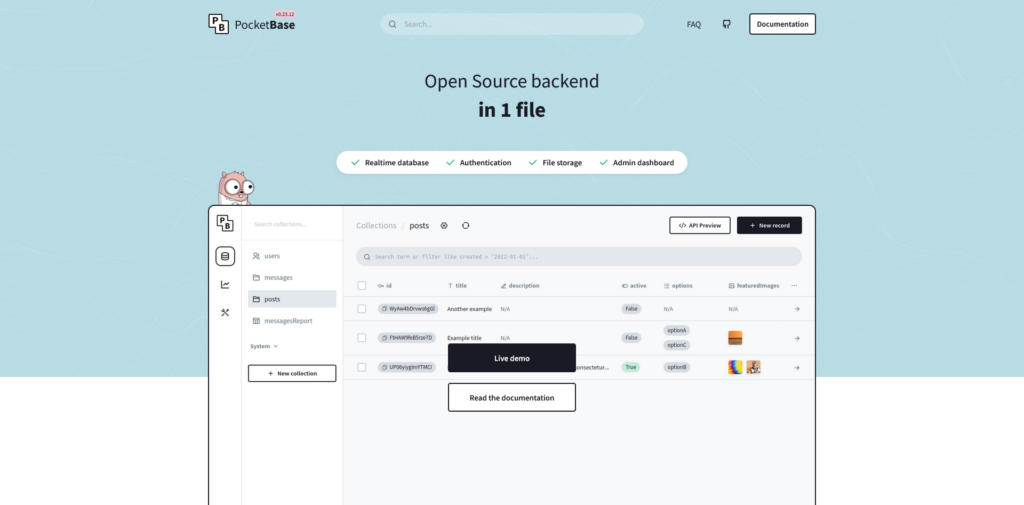
    8. PocketBase

    pocketbase

    PocketBase is a lightweight, self-hosted backend solution that includes:

    • SQLite as its database.
    • Authentication and file storage.

    Why Choose PocketBase?

    • Simple setup and deployment.
    • Great for small-scale projects or prototypes.

    9. Kuzzle

    kuzzle

    Kuzzle is an open-source backend for building IoT and web applications. It supports real-time functionalities and advanced search features.

    Why Choose Kuzzle?

    • Ideal for IoT projects.
    • Real-time capabilities and geospatial queries.

    10. Railway

    railway

    Railway focuses on simplifying deployment for full-stack apps with:

    • Postgres hosting.
    • Built-in deployment workflows.

    Why Choose Railway?

    • Great for developers who value streamlined DevOps.
    • Flexible hosting and integrations.

    Pricing Comparison Table

    PlatformFree TierPaid Plans (Starting At)Highlights
    Supabase2 GB storage, 50 MB database, 500K requests$25/monthOpen-source, PostgreSQL-based
    Firebase1 GB storage, 50K reads, 50 writes/dayPay-as-you-goGoogle Cloud integration
    AppwriteSelf-hosted, freeSelf-managed costsOpen-source, customizable
    ParseSelf-hosted, freeSelf-managed costsMature community support
    AWS AmplifyFree for first 5 GB storage, 1M requestsPay-as-you-goEnterprise-grade scalability
    HasuraFree for self-hosting$99/monthReal-time GraphQL APIs
    NHostFree for small projects$25/monthGraphQL, PostgreSQL
    BackendlessFree for 200 users, 1 GB storage$15/monthVisual app-building tools
    PocketBaseFreeSelf-managed costsLightweight and simple
    KuzzleFree for self-hostingSelf-managed costsIoT-focused features
    RailwayFree for limited usage$10/monthDevOps-friendly, Postgres hosting

    Which Platform Should You Choose?

    It all comes down to your needs:

    • If you want open-source and SQL, go with Supabase.
    • For offline-first and NoSQL, Firebase is still king.
    • Need customization? Check out Appwrite or Parse.
    • Want enterprise-grade scalability? AWS Amplify has your back.
    • For GraphQL powerhouses, Hasura or NHost are excellent choices.
    • Small-scale and lightweight? Try PocketBase or Backendless.

    Final Thoughts

    Supabase has emerged as a strong contender in the BaaS space, especially for developers who value open-source tools and SQL-based databases. However, no single platform is perfect for every use case. By weighing the pros and cons of each alternative, you can make an informed decision that aligns with your project’s goals.

    So, what’s it gonna be? Supabase or one of its competitors? Either way, the backend of your dreams is just a few clicks away.

  • HTML-First Development: The Pros and Cons

    HTML-First Development: The Pros and Cons

    Alright, let’s talk about HTML-first development. It’s been getting a lot of buzz lately in the web development world. But is it really all it’s cracked up to be? Or is it just another trend that’ll fade away? Let’s break it down!

    What Is HTML-First Development?

    html first principles 1

    Okay, imagine you’re building a house. The first thing you do is lay down the foundation—solid, reliable, and necessary. That’s HTML. Then you bring in the furniture (CSS) and gadgets (JavaScript). That’s basically what HTML-first development is about. It means starting with good ol’ HTML for the structure and then layering everything else on top.

    HTML is like that friend who’s always there for you—no fancy bells or whistles, but super dependable. It works everywhere, on every browser, and doesn’t demand much from your device. That’s why people are into it.

    The Pros of HTML-First Development

    pros html first development

    1. Browser Compatibility and Accessibility

    Let’s face it—not everyone’s using the latest iPhone or Chrome browser. HTML, though? It’s a universal language. It’ll render just fine whether someone’s on a decade-old browser or the latest tech.

    • Stat: Over 94.1% of websites use HTML5. That’s basically everyone. (W3Techs)
    • Fun fact: Making your site accessible can improve engagement by 20%.

    2. Improved Performance

    Here’s the deal—the less you ask a browser to do, the faster your page loads. HTML-first development keeps things lightweight, and that’s golden, especially if your audience isn’t on super-fast connections.

    • Stat: Pages that load in under 3 seconds have a 53% lower bounce rate. (Think with Google)

    3. SEO Benefits

    Search engines? They’re all about clean, structured content. Proper headings, meta tags, and alt attributes? That’s music to their ears (or algorithms?).

    • Stat: Sites with good HTML structure can see a 32% boost in organic traffic. (Moz)

    4. Simplicity and Ease of Use

    HTML is beginner-friendly. No steep learning curve, no trying to figure out why your code just broke—it’s straightforward. If you’re new to web development, it’s the perfect place to start.

    The Cons of HTML-First Development

    1. Limited Interactivity

    Here’s the catch: HTML on its own can’t do all the cool stuff—no dynamic content, no fancy user interactions. For that, you’ll need JavaScript or something else.

    • Example: A search bar or live chat? HTML can’t do that solo.

    2. Maintenance Challenges

    When your site grows, HTML files can get messy. Imagine trying to find one line of code in a thousand—it’s a headache waiting to happen.

    • Pro Tip: Using frameworks can help, but they’re not always simple to set up.

    3. Security Concerns

    HTML doesn’t have built-in security features. So if you’re just using it as-is, your site’s like a house with an open door.

    4. Static Content Limitations

    HTML is awesome for static stuff. But if you’re planning to build an e-commerce site or anything interactive, you’ll need backend tools or JavaScript frameworks.

    • Example: A simple blog? Sure. An online store? Not so much.

    When Should You Use HTML-First Development?

    It’s a great choice for:

    • Portfolios, blogs, or informational pages.
    • Projects where SEO and accessibility are priorities.
    • Sites where performance and simplicity matter more than interactivity.

    If your project needs dynamic content or heavy interactivity, though, you’ll probably need to bring in the big guns (JavaScript frameworks or server-side tech).

    Best Practices for HTML-First Development

    1. Use Semantic HTML: Stuff like <header>, <article>, and <footer> helps with both SEO and accessibility.
    2. Optimize Performance: Compress images, reduce HTTP requests—basically, keep it fast.
    3. Progressive Enhancements: Add CSS and JavaScript for extra flair without messing up the basics.
    4. Test Across Devices: Make sure your site looks good everywhere—desktop, mobile, tablet, you name it.

    Conclusion

    HTML-first development is like the trusty old bicycle of web development—simple, reliable, and effective. It’s perfect for static or straightforward projects, but it’s not going to replace your sports car (dynamic web apps).

    So, what do you think? Whether you’re building a blog, a corporate page, or just tinkering around, HTML-first might be the chill, no-drama approach you’ve been looking for. Give it a shot—or not. No pressure. Just make sure whatever you build works beautifully for your audience.

  • The Future of React: What’s Up With This HTML-First Thing?

    The Future of React: What’s Up With This HTML-First Thing?

    React has been the web development darling for years. If you’re building a modern app, React is probably the first tool you think of. But lately, there’s been a lot of buzz about this HTML-first approach, and it’s making people wonder: where does React fit into this new world?

    I mean, React has always been about JavaScript first, right? You write components, React does its magic, and boom—you get your app. But HTML-first is a totally different vibe. It’s like saying, “Hey, what if we let the browser do its thing and just sprinkle in some JavaScript later?”

    It’s a big shift. And React isn’t ignoring it. Let’s dive into how React is evolving to stay in the game.

    Wait, What’s HTML-First Again?

    html first approach

    Alright, so HTML-first isn’t some fancy framework or library. It’s more like a way of thinking. Instead of building everything in JavaScript and letting the browser figure it out, you start with good old HTML.

    Why? Because HTML is simple. It’s fast. It works right out of the box. Browsers love it, search engines love it, and (let’s be real) your users love it too.

    The idea is to deliver clean, static HTML first—something the browser can render instantly. Then, if you need interactivity, you layer in JavaScript. This approach makes your sites faster, more accessible, and way less bloated.

    It’s the exact opposite of React’s usual JavaScript-first approach. So, what’s React doing about it?

    How React Is Catching Up

    React isn’t dumb—it knows the web is changing. And it’s already working on tools to stay relevant in this HTML-first world.

    1. Server Components Are the Real Deal

    If you haven’t heard of React Server Components yet, here’s the gist: Instead of making your browser handle everything, the server takes care of rendering some components into plain HTML. The browser just loads that HTML and calls it a day.

    Think about it:

    • If your user doesn’t need interactivity (like a blog post), why bother sending JavaScript? Just send HTML.
    • For interactive stuff, JavaScript can load separately.

    It’s a smarter way to handle things, and honestly, it feels like React is finally getting the HTML-first memo.

    2. Streaming HTML: Netflix, But for Websites

    React is also playing with streaming HTML, which is pretty cool. Instead of waiting for the whole page to load, the server sends bits of HTML as they’re ready.

    So, your user sees the important stuff first (like the headline) while the rest loads in the background. It’s faster, smoother, and way less annoying than staring at a blank screen.

    3. Next.js Is Leading the Charge

    Let’s not forget Next.js, React’s best buddy. Next.js has been pushing HTML-first ideas for a while now with:

    • Static Site Generation (SSG): Pre-rendered HTML at build time.
    • Incremental Static Regeneration (ISR): Updates to your HTML without rebuilding everything.

    Next.js makes it easy to combine React’s interactivity with HTML-first speed. And honestly? It’s showing React what the future could look like.

    Why Should You Care?

    Here’s the deal: HTML-first isn’t just a buzzword. It’s solving real problems.

    • Performance: Smaller JavaScript bundles mean faster load times, especially on slower devices.
    • Accessibility: Clean, semantic HTML works better with screen readers and assistive tech.
    • SEO: Search engines love plain HTML because it’s easier to crawl and index.

    React embracing HTML-first ideas isn’t just about following trends—it’s about staying relevant in a web that’s moving toward simplicity and speed.

    What’s Next for React?

    Does this mean React is ditching JavaScript? No way. JavaScript is React’s bread and butter. But it does mean React is learning to chill out a little. Instead of making everything a component, it’s starting to prioritize when and where JavaScript actually makes sense.
    The future of React looks like this:

    • HTML for structure. React Server Components and streaming HTML for the static stuff.
    • JavaScript for interactivity. React’s dynamic UIs aren’t going anywhere—they’re just being used more thoughtfully.

    It’s a balance. And it’s one that frameworks like Astro and Qwik are already nailing. React is just catching up.

    Final Thoughts

    React isn’t going anywhere. It’s still one of the best tools out there for building dynamic, interactive apps. But this HTML-first shift is a wake-up call.

    By leaning into server rendering, streaming, and smarter hydration, React is proving it can adapt without losing what makes it great. The web is moving toward lighter, faster experiences, and React is learning how to fit in.

    So, if you’re a React developer, don’t panic. This isn’t the end of React—it’s just the next chapter. And honestly? It’s looking pretty good.
  • Choosing the Right CMS: What You Need to Know Before You Decide

    Choosing the Right CMS: What You Need to Know Before You Decide

    Building a website? Great! But here’s where things get tricky: picking the right Content Management System (CMS) for the job. A CMS isn’t just software—it’s the backbone of your site. Get it right, and managing your content becomes a breeze. Get it wrong, and, well… good luck with the headaches.

    With so many CMS platforms out there—each promising to be the best—it’s easy to feel overwhelmed. Don’t worry, though. Let’s break it down step by step and clear up all your doubts.

    First Things First: What Is a CMS, Anyway?

    A CMS is basically the tool you use to build, manage, and update your website. Think of it like a digital toolkit that helps you:

    • Create new pages and posts.
    • Organize content like blogs, images, or videos.
    • Keep everything updated without touching a single line of code (well, most of the time).

    Why Should I Use a CMS?

    If you’ve never used a CMS before, you might wonder why it’s so important. Can’t you just code everything manually or use a simple website builder? Sure, you could—but here’s why a CMS is often the smarter choice:

    1. Easy Content Management

    A CMS lets you create, update, and organize content effortlessly—even if you don’t know how to code. From writing blog posts to adding new pages, it’s all point-and-click.

    2. Saves Time and Resources

    Building and maintaining a website manually takes a lot of time, especially for updates. A CMS automates much of this, letting your team focus on more important tasks.

    3. Collaboration Made Simple

    With a CMS, multiple team members can work on the same site at the same time. Features like user roles and permissions ensure everyone has access to just what they need.

    4. Keeps Your Site Updated

    Modern CMS platforms are constantly updated with new features, security patches, and compatibility improvements. This ensures your site stays fresh and secure.

    5. Built-In SEO Tools

    Most CMS platforms come with tools to optimize your site for search engines, helping you rank higher and drive more traffic.

    6. Scalable for Growth

    Whether you’re a small business or planning to grow big, a CMS can scale with your needs. Add new features, handle more traffic, and expand your content—all without starting from scratch.

    7. Integrations Galore

    From social media to email marketing and analytics, CMS platforms often support plugins or integrations that make connecting your site with other tools a breeze.

    8. Cost-Effective in the Long Run

    While there’s an upfront cost, using a CMS reduces the long-term expenses of hiring developers for every little change or update.

    In short, a CMS empowers you to focus on your content and goals, not the technicalities of managing a website.

    SaaS vs. On-Premise vs. Cloud-Hosted CMS: What’s the Difference?

    Before diving into specific features, you need to decide what type of CMS you need. Here’s a comparison to help you understand the differences:

    TypeHow It WorksExamplesProsCons
    SaaS CMSNo installation or maintenance. You pay a monthly fee, and the provider handles technical stuff.Core DNA, Wix, CrownPeakHassle-free, always up-to-date, no technical expertise needed.Limited control and customization.
    On-Premise CMSInstall on your own server or hosting provider. Full control over the system.WordPress, DrupalComplete control over customization and data.Requires maintenance, updates, and hosting.
    Cloud-Hosted CMSPurchase software, but host it on third-party servers.WP Engine, HostwayScalable, reliable, and less technical work compared to on-premise solutions.Costs can grow with site size and traffic.

    Features to Look for in a CMS

    Not all CMS platforms are created equal. Before making a choice, consider what features your business needs—both now and in the future.

    1. Ease of Use

    Can your team create, edit, and publish content without needing technical skills?

    2. Design Flexibility

    Does the CMS allow for custom designs, or are you limited to predefined templates?

    3. Mobile Responsiveness

    Your site must look good on mobile—this is non-negotiable.

    4. SEO Tools

    Built-in SEO features are essential to get your site ranked on search engines.

    5. Third-Party Integrations

    Check for plugins or integrations for email marketing, analytics, and social media sharing.

    6. Security

    Ensure the CMS can protect your content and user data from threats.

    7. Scalability

    The platform should grow with your business and handle increasing traffic without issues.

    8. Workflow Management

    Does it simplify publishing workflows and approvals for teams?

    9. Customization

    Look for the ability to tweak the platform as your needs change.

    10. Analytics

    Built-in analytics tools are a big plus for tracking performance and making improvements.

    Common Mistakes to Avoid When Choosing a CMS

    Not every CMS is going to work for you, no matter how good it looks on paper. Here are some common traps to watch out for:

    Going for the Cheapest Option

    Saving money upfront can cost you in frustration and limitations down the line.

    Ignoring Scalability

    Your website will (hopefully) grow. Make sure your CMS can handle it.

    Overlooking Maintenance Needs

    Who’s going to manage updates, backups, and security? You or the CMS provider?

    Skipping Stakeholder Input

    Don’t make the decision alone. Talk to your marketing, IT, and sales teams to understand their needs.

    Final Thoughts: How to Make the Right Choice

    Choosing the right CMS is about more than just features—it’s about finding the right fit for your business. Think about:

    • Your current needs (content creation, updates).
    • Your team’s skill level (do you need something beginner-friendly?).
    • Your long-term goals (can the CMS grow with you?).

    There’s no one-size-fits-all answer, but by asking the right questions and thinking strategically, you’ll land on the CMS that’s just right for your business.

    Still unsure? Need help figuring it all out? Request a quote today, and we’ll guide you through the process to find the perfect CMS for your needs.


  • How to Secure WordPress Website in 2025

    How to Secure WordPress Website in 2025

    Protecting your WordPress website is no longer optional – it’s essential. With hackers constantly on the lookout for vulnerabilities, a secure website ensures you stay ahead of potential threats while safeguarding your data, reputation, and users. Let’s break down the actionable steps to lock down your WordPress site and keep it hacker-free.

    Why Website Security Matters More Than Ever

    why website security matters

    Here’s the thing: WordPress powers 43% of the web (Statista), making it a juicy target for cybercriminals. A single breach can:

    • Destroy Trust: 65% of users won’t return to a site after a data breach (CSO Online).
    • Tank Your SEO: Google flags and delists hacked sites, wrecking your rankings.
    • Cost You Money: The average small business loses $200,000 per attack (CNBC).

    Step-by-Step: How to Secure Your WordPress Website

    1. Keep WordPress, Themes, and Plugins Updated

    Outdated software is a hacker’s playground. Developers release updates to patch vulnerabilities, so keep everything up-to-date:

    • Enable automatic updates for WordPress core files.
    • Use tools like ManageWP to monitor and update plugins/themes across multiple sites.

    2. Choose Secure Hosting

    secure hosting

    Your hosting provider is your first line of defense. Opt for one that includes:

    • SSL Certificates: Encrypts user data.
    • Firewalls: Blocks malicious traffic.
    • Daily Backups: Ensures quick recovery if hacked.

    Recommended Providers: SiteGround, Kinsta, or Bluehost.

    3. Use Strong Passwords and 2FA

    strong password wordpress

    Weak passwords are an open invitation for brute-force attacks. Here’s how to level up:

    • Use a password manager like LastPass or Dashlane.
    • Enable Two-Factor Authentication (2FA) with plugins like Wordfence or Google Authenticator.

    4. Install a Security Plugin

    WordPress security plugins make it easy to monitor threats and block vulnerabilities. Top picks include:

    • Wordfence: Comprehensive firewall and malware scanner.
    • iThemes Security: Login protection and brute-force attack prevention.
    • Sucuri: Malware detection and removal.

    5. Limit Login Attempts

    Brute-force attacks try thousands of password combinations until they get in. Prevent this by limiting login attempts with plugins like:

    • Limit Login Attempts Reloaded.
    • Loginizer.

    6. Secure Your wp-config.php File

    The wp-config.php file holds critical WordPress configuration details. Protect it by:

    • Moving it one level above the root directory.
    • Adding deny from all rules in your .htaccess file.

    7. Implement Regular Backups

    regular backup

    Backups are your safety net. Schedule them daily and store them offsite using tools like:

    8. Switch to HTTPS

    HTTPS encrypts data transfer between your site and users, making it harder for attackers to intercept sensitive information. Get an SSL certificate from:

    • Let’s Encrypt (free).
    • Your hosting provider.

    9. Disable Directory Listing

    Directory listing can expose sensitive files to attackers. Disable it by adding this line to your .htaccess file:

    Options -Indexes

    10. Monitor for Malware

    monitor malware

    Use malware scanners to catch threats before they cause damage:

    Bonus Tips for Advanced Users

    • Restrict File Permissions: Ensure only authorized users can edit files.
    • Change Default Login URL: Obscure your login page with plugins like WPS Hide Login.
    • Block XML-RPC: Unless required, disable XML-RPC to prevent DDoS attacks.

    Final Thoughts: Security Is a Continuous Process

    WordPress security isn’t a one-and-done task. Hackers evolve, and so should your defenses. By implementing these steps and staying vigilant, you can protect your website, data, and users.

  • How to Remove Toxic Low-Quality Backlinks: A Step-by-Step Guide

    How to Remove Toxic Low-Quality Backlinks: A Step-by-Step Guide

    Backlinks are like the lifeblood of your website’s SEO performance. But here’s the catch – not all backlinks are your allies. Some can hurt your rankings, dilute your credibility, and even invite penalties from Google. If you’ve been hit by toxic links or want to stay ahead of the curve, this actionable guide will teach you how to identify and remove harmful backlinks effectively.

    What Are Toxic Backlinks and Why Do They Matter?

    Toxic backlinks come from low-quality, irrelevant, or spammy websites. They’re often a result of black-hat SEO practices, or they may appear naturally from unreliable sources.

    Why Should You Care?

    Google’s updated guidance (December 19, 2024) emphasizes:

    “Links intended to manipulate PageRank or a site’s ranking in Google search results may be considered part of a link scheme and a violation of Google’s Webmaster Guidelines.”

    Additionally, they stress:

    “Disavow backlinks only if you have a considerable number of spammy, artificial, or low-quality links pointing to your site, and these links have caused or are likely to cause a manual action.”

    The Risks of Toxic Backlinks:

    • Lower Search Rankings: Toxic links can degrade your domain authority and tank your rankings.
    • Manual Penalties: Google might issue penalties for manipulative link practices.
    • Traffic Loss: Falling rankings lead to lower organic traffic.
    • Wasted SEO Efforts: Your hard-earned link equity is diluted by these harmful links.

    How to Spot Toxic Backlinks

    Cleaning up your backlink profile begins with identifying the harmful links. Here’s how to do it step-by-step:

    Step 1: Conduct a Backlink Audit

    Use tools like:

    • Google Search Console: Check the “Links” section for domains linking to yours.
    • SEMrush, Ahrefs, or Moz: These tools analyze your backlink profile and flag potentially toxic links.

    Step 2: Look for Red Flags

    • Low-Quality Sites: Links from spammy or low-domain authority websites.
    • Irrelevant Links: Sources unrelated to your niche or industry.
    • Over-Optimized Anchor Texts: Excessive use of keyword-rich anchors.
    • Link Farms and PBNs: Networks built solely for link manipulation.

    How to Remove Toxic Backlinks

    Once you’ve identified harmful backlinks, here’s how to get rid of them:

    Step 1: Reach Out to Webmasters

    Locate Contact Information: Use tools like Hunter.io to find email addresses.

    Send a Request:Example Email:

      Subject: Request to Remove Backlink

      Dear [Webmaster],

      I noticed that your site [Website URL] links to my website [Your Site URL]. Unfortunately, this backlink negatively affects my site’s SEO. I kindly request you to remove the link. Thank you for your assistance!

      Best regards,
      [Your Name]

      Follow Up: If there’s no response, send a follow-up email after a week.

        Step 2: Use Google’s Disavow Tool

        When webmasters don’t cooperate, disavow the harmful links via Google Search Console:

        1. Create a Disavow File:
        # Disavow file for harmful links
        domain:spammy-site.com
        https://spammy-site.com/toxic-link
        

        Submit the File:

        • Navigate to Google’s Disavow Tool.
        • Select your property and upload the .txt file.

        Proactive Steps to Maintain a Healthy Backlink Profile

        Fixing toxic backlinks is crucial, but prevention is better. Here’s how to keep your backlink profile clean:

        1. Regular Backlink Audits

        • Schedule audits every 3-6 months using tools like SEMrush or Ahrefs.
        • Set alerts to monitor new backlinks.

        2. Focus on High-Quality Links

        Build your backlink portfolio through:

        • Guest Blogging: Contribute to high-authority sites in your niche.
        • Content Marketing: Publish valuable, shareable content that attracts organic backlinks.
        • Collaborations: Work with industry influencers for natural link opportunities.

        3. Avoid Link Schemes

        • Say no to buying or selling links.
        • Avoid automated link-building tactics or excessive exchanges.

        FAQs About Toxic Backlinks

        What is a toxic backlink?

        Toxic backlinks are spammy, irrelevant, or low-quality links that can harm your site’s SEO.

        How often should I audit my backlinks?

        Aim for audits every 3-6 months to stay proactive.

        Can toxic backlinks cause penalties?

        Yes, toxic links can lead to Google penalties, harming your rankings and traffic.

        When should I use Google’s Disavow Tool?

        Use it when you have a significant number of toxic links that are likely to cause penalties.

        Final Thoughts: Protect Your SEO with a Clean Backlink Profile

        Toxic backlinks can hurt your site’s performance, but with regular audits and ethical link-building strategies, you can minimize their impact. By addressing harmful links early and maintaining a high-quality backlink profile, you’ll keep your rankings safe and your SEO efforts effective.

        Start managing your backlinks today. If you need expert help, reach out to us—we’re here to ensure your site stays in Google’s good graces!